Achieving Professional Sound with Ease
Properly setting up and configuring your amplifier is crucial to achieving the best sound quality for your events, whether they are concerts, corporate functions, or personal gatherings. This guide provides detailed, step-by-step instructions for setting up and configuring amplifiers, featuring top brands like BEAMZ, BEAMZ PRO, FBT, JTS, ALUSTAGE, ADASTRA, ATHLETIC, AVLINK, CHORD, CITRONIC, FENTON, FILO, MAGICFX, MAX, MERCURY, PD CONNEX, POWER DYNAMICS, QTX, ROXTONE, STUDIOMASTER, SWEETLIGHT, TVA, and VONYX.
1. Unboxing and Initial Inspection
When you first receive your amplifier, carefully unbox it and inspect it for any visible damage. Brands like FBT and JTS provide robust packaging, but it’s always good to ensure everything is intact. Check for all included accessories, such as power cables, manuals, and any additional components.

2. Placement and Ventilation
Place your amplifier in a well-ventilated area to prevent overheating. Amplifiers from BEAMZ and POWER DYNAMICS are designed with efficient cooling systems, but proper placement ensures optimal performance. Avoid placing the amplifier near heat sources or in enclosed spaces.

3. Connecting to Power
Ensure your amplifier is connected to a stable power source. Use the power cable provided by the manufacturer, such as those from CITRONIC and MAX. Avoid using extension cords or power strips that may not handle the amplifier's power requirements.
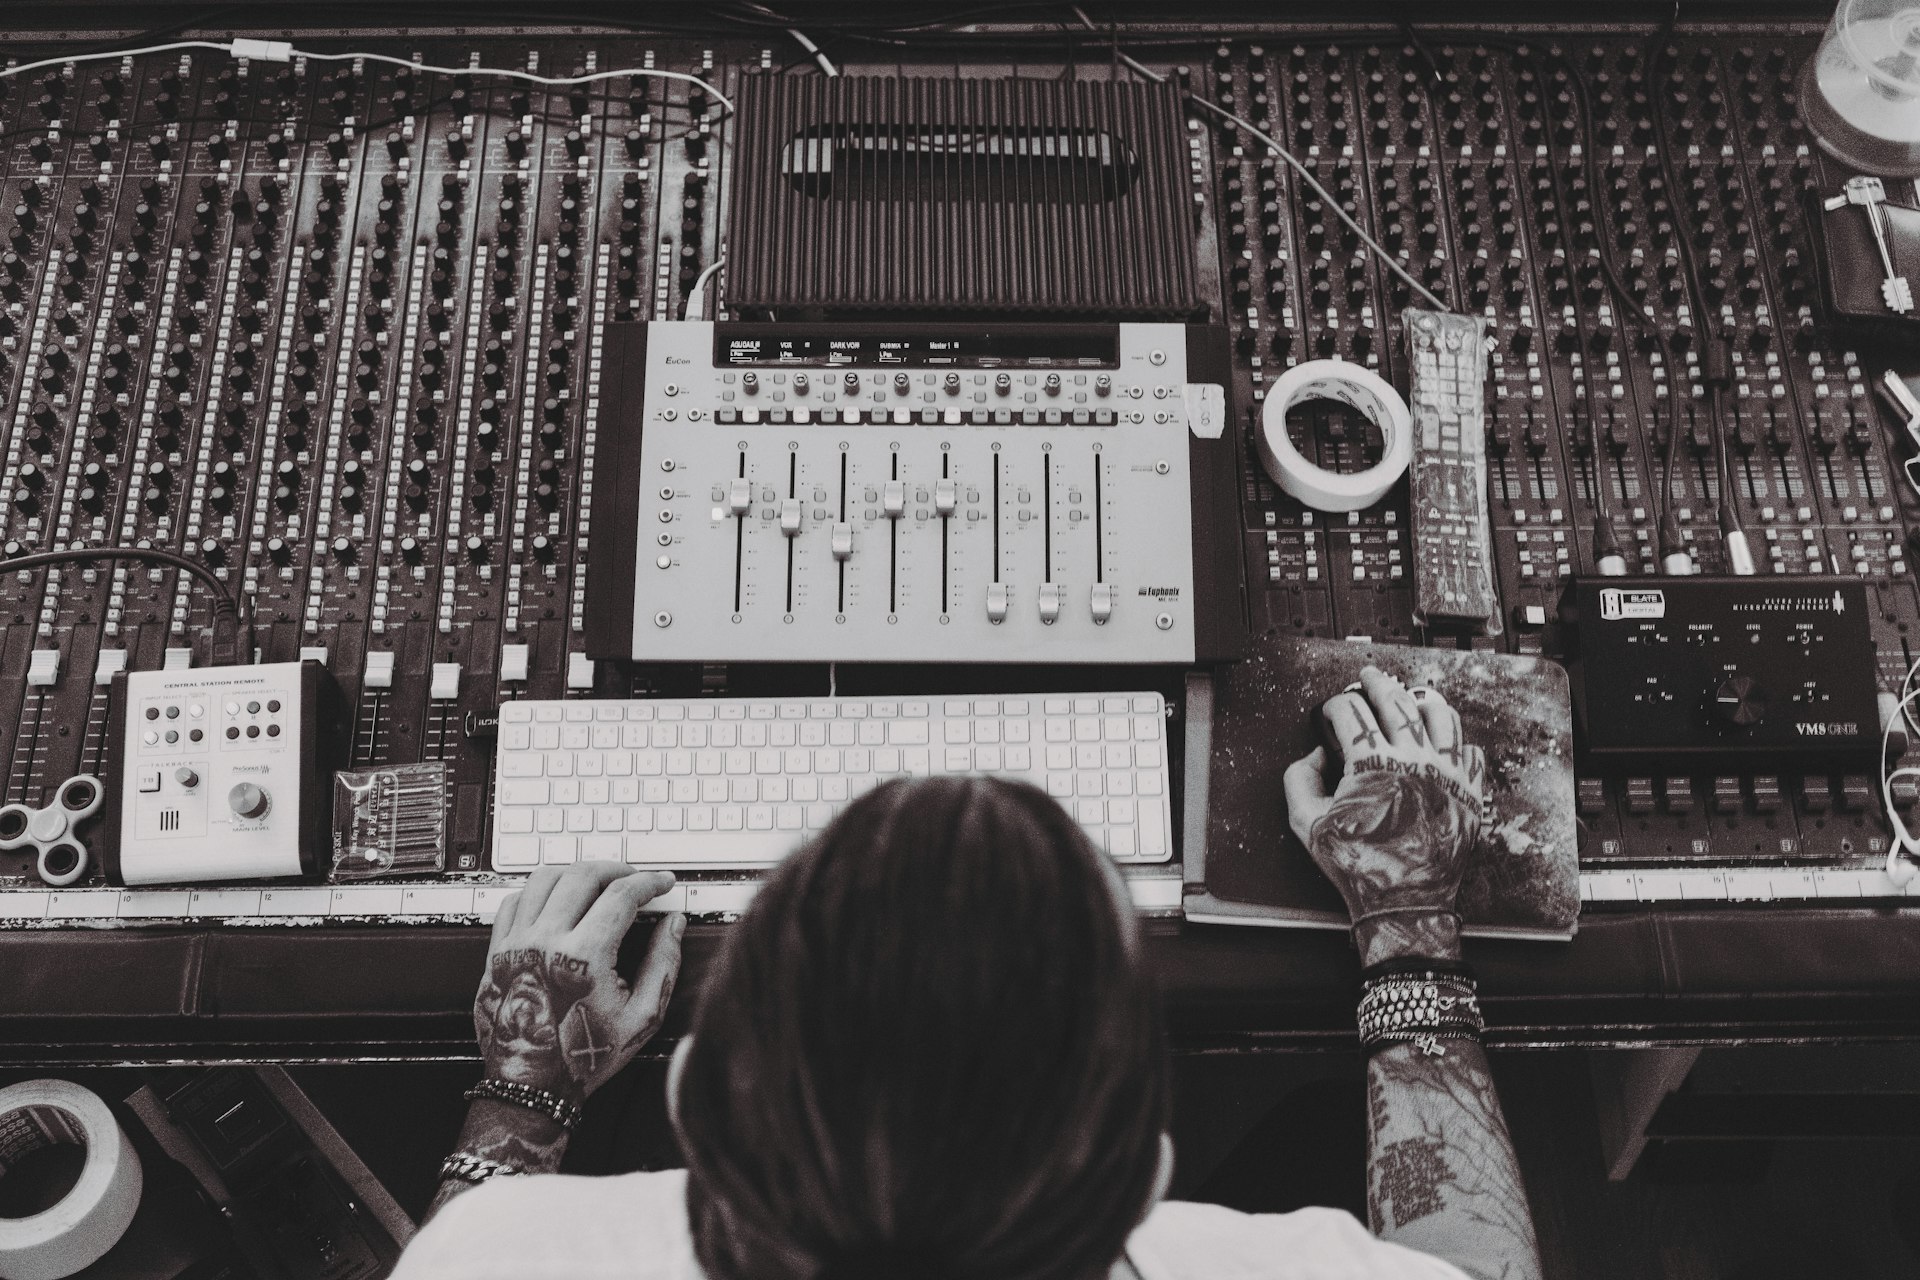
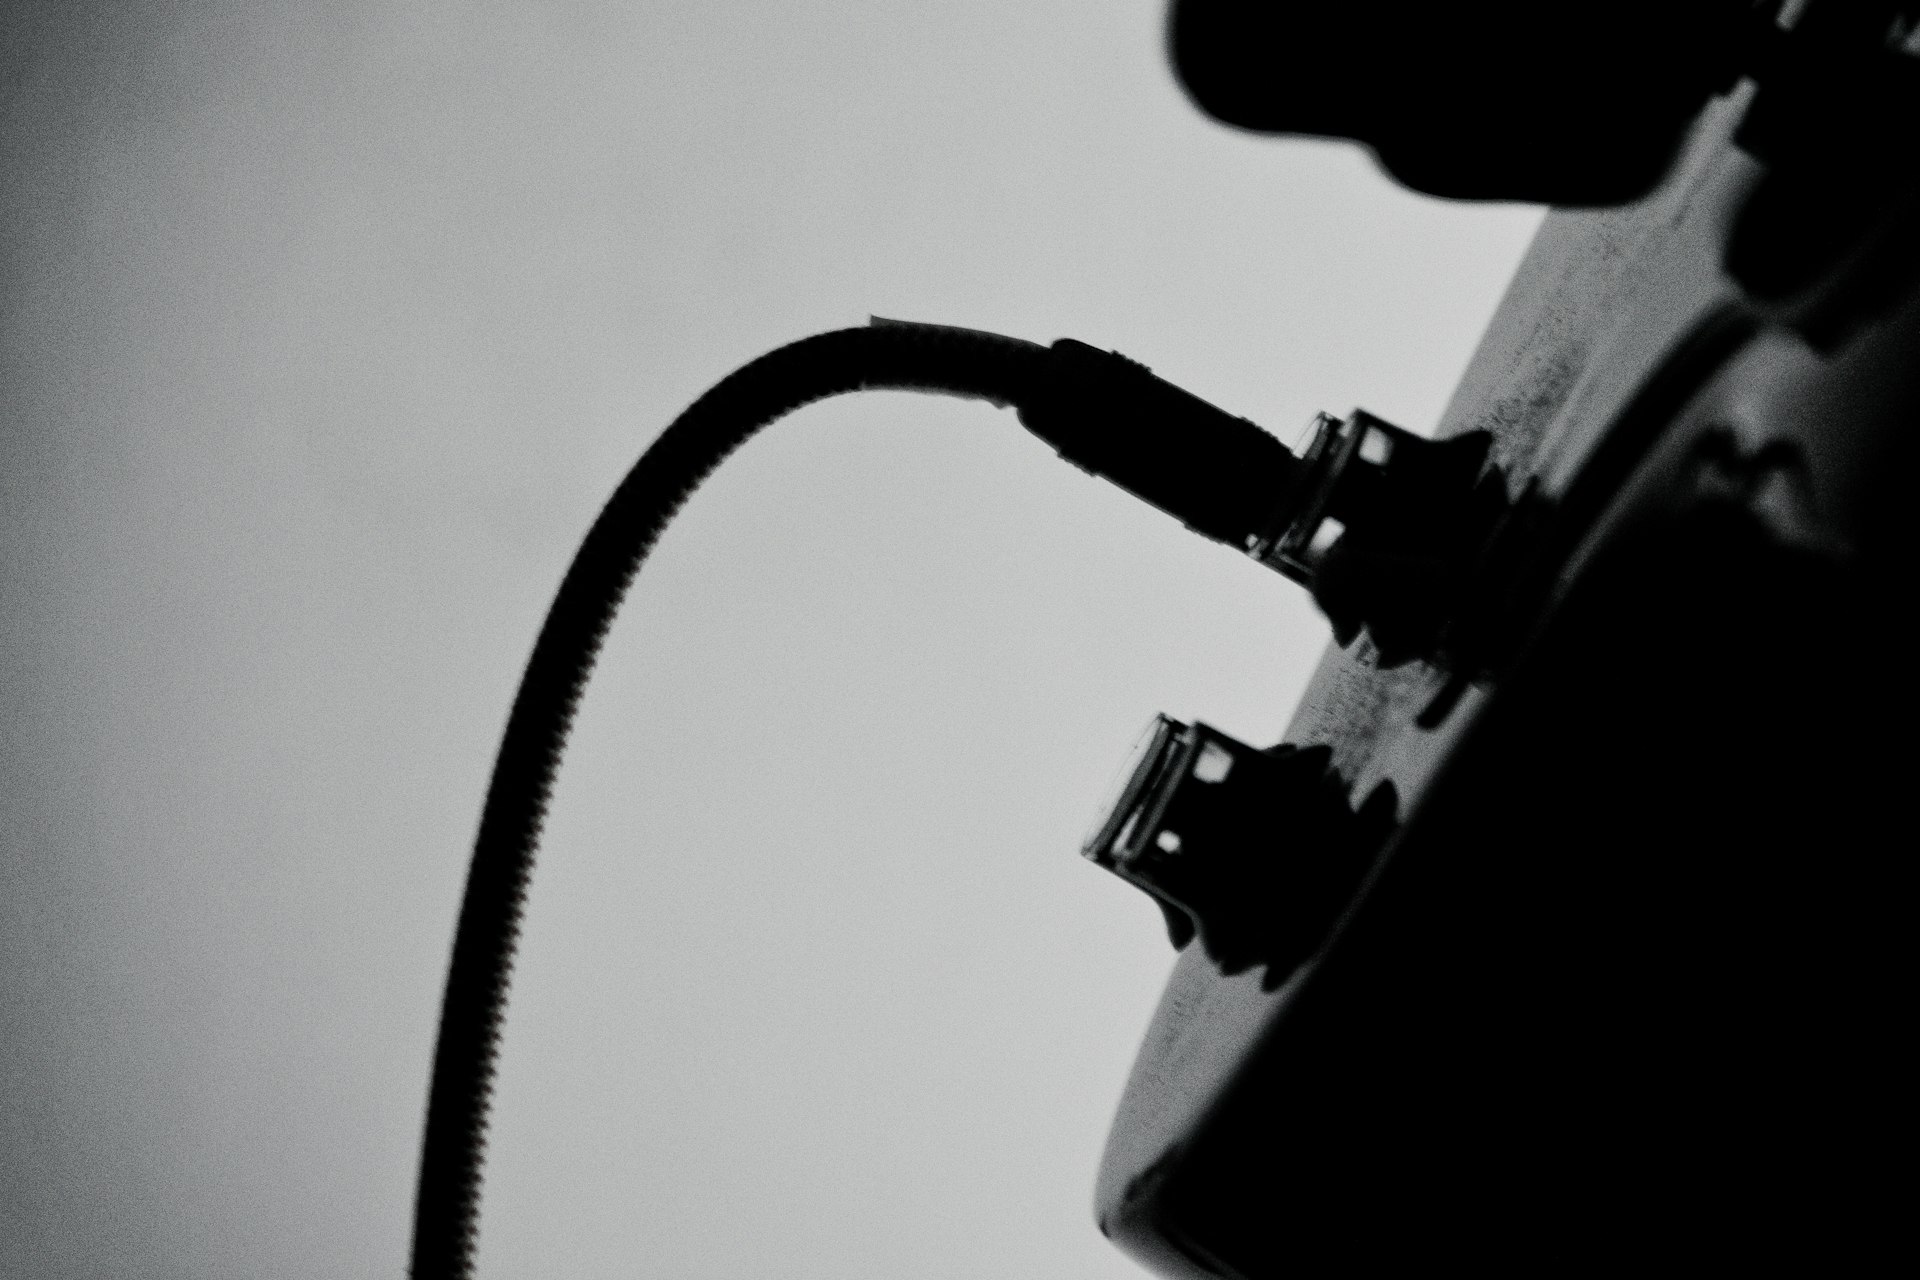
4. Input Connections
Connect your audio source to the amplifier’s input. This could be a mixer, musical instrument, or other audio devices. Brands like AVLINK and CHORD offer high-quality cables and connectors for secure and interference-free connections. Ensure the input levels match the amplifier’s specifications to avoid signal distortion.

5. Output Connections
Connect the amplifier to your speakers. Use speaker cables that are compatible with your amplifier and speakers. QTX and ROXTONE provide durable and reliable cables that ensure a clear signal path. Ensure the polarity of the cables is correct to avoid phase issues.
6. Initial Power-On
Before powering on, double-check all connections. Turn on your amplifier and let it warm up for a few minutes. Brands like ADASTRA and VONYX design amplifiers that quickly stabilize after powering on, but it’s a good practice to give the electronics a moment to settle.
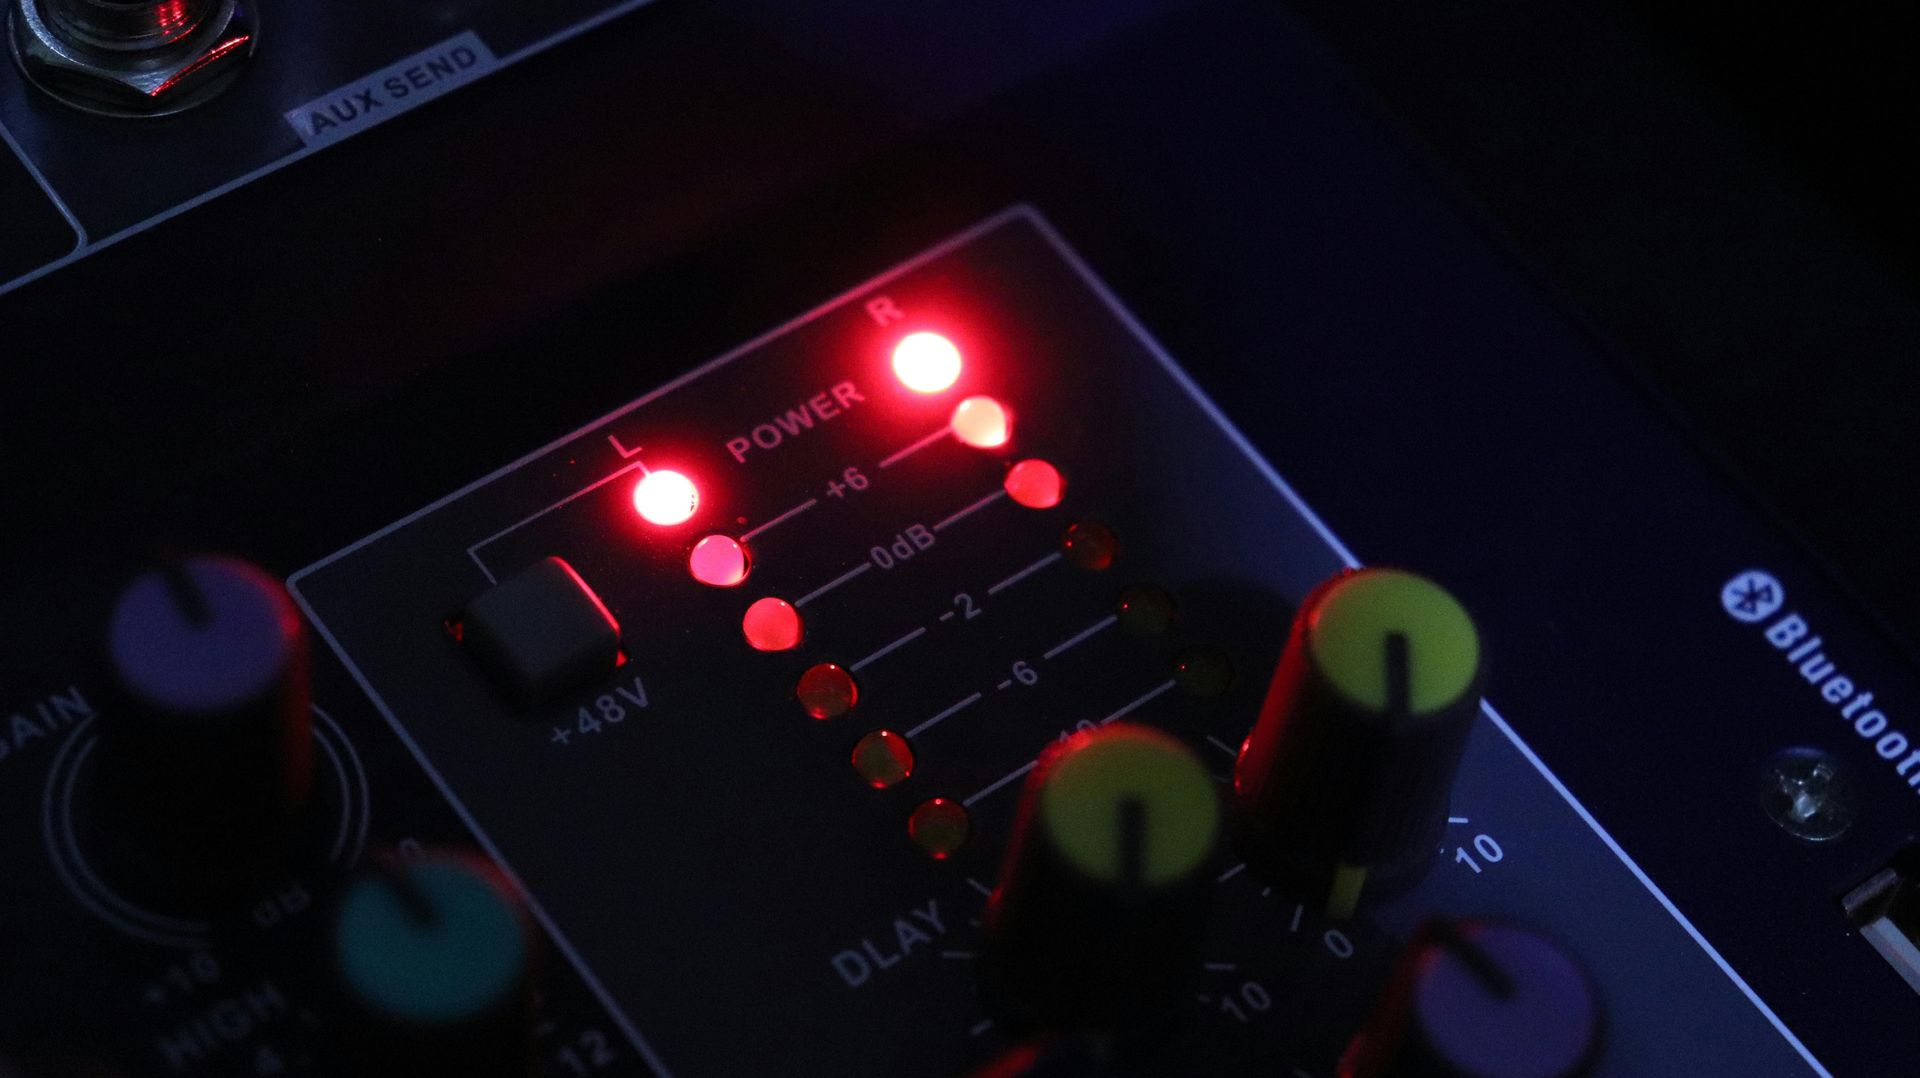
7. Configuring Settings
- Volume Control: Start with the volume at a low level and gradually increase it to prevent speaker damage.
- Equalization (EQ): Adjust the EQ settings to match your acoustic environment. Amplifiers from STUDIOMASTER and SWEETLIGHT often include built-in EQ controls that allow for precise sound shaping.
- Crossover Settings: If your amplifier includes crossover controls, set them according to your speaker configuration. FBT and JTS offer models with advanced crossover settings for optimizing multi-speaker setups.

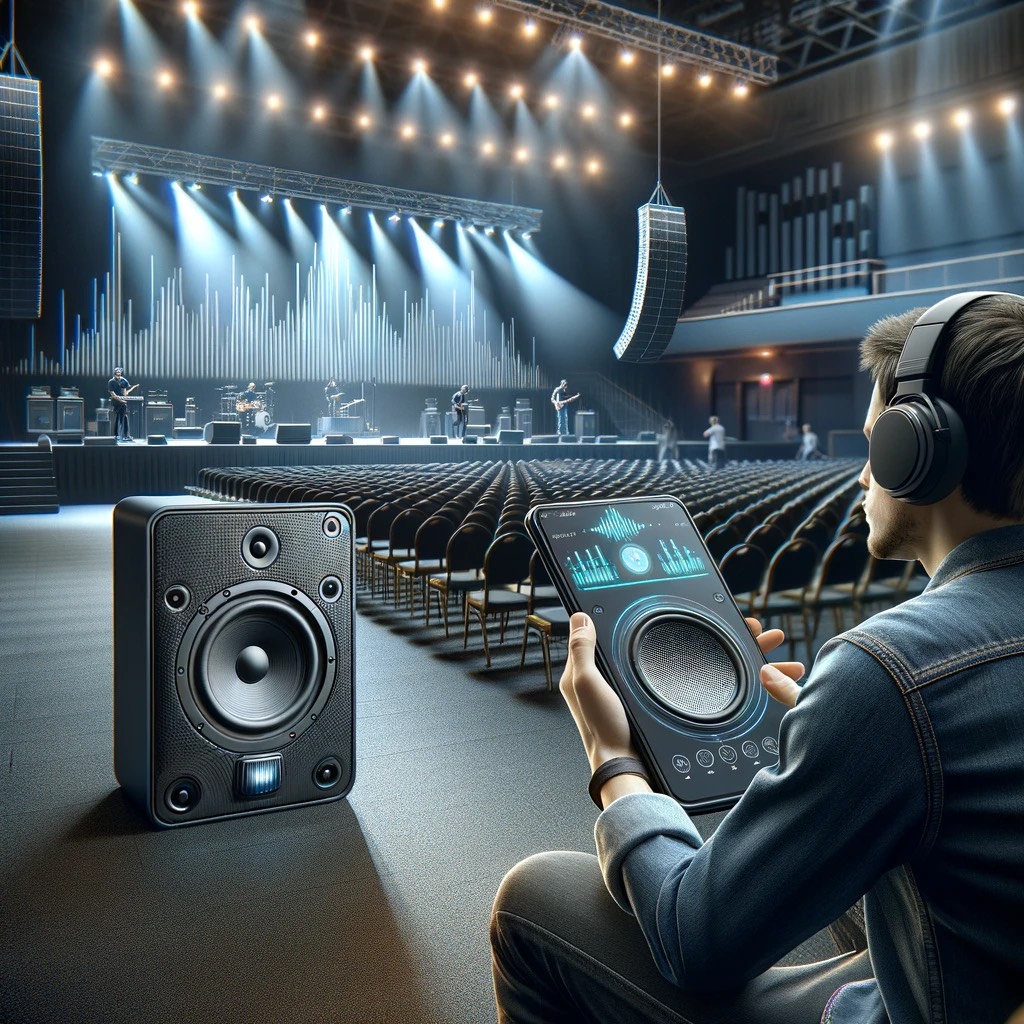
8. Testing and Fine-Tuning
Play a familiar audio track and walk around the venue to ensure even sound distribution. Listen for any distortions or irregularities. Fine-tune the settings on your amplifier, adjusting the volume, EQ, and crossover settings as needed. FENTON and MAGICFX amplifiers are known for their intuitive controls, making this process straightforward.
9. Regular Maintenance
Regularly clean and maintain your amplifier to ensure longevity. Dust and debris can accumulate in the vents and on the connectors. Brands like ATHLETIC and TVA offer maintenance kits that include cleaning tools and contact cleaners. Regular maintenance prevents performance degradation and prolongs the life of your amplifier.

Conclusion
Setting up and configuring your amplifier correctly is crucial for achieving optimal sound quality. By following these steps and using high-quality equipment from reputable brands like BEAMZ, FBT, CITRONIC, and POWER DYNAMICS, you can ensure a successful and impactful audio experience for your events. Proper setup, regular maintenance, and understanding your amplifier’s features will help you get the most out of your investment.