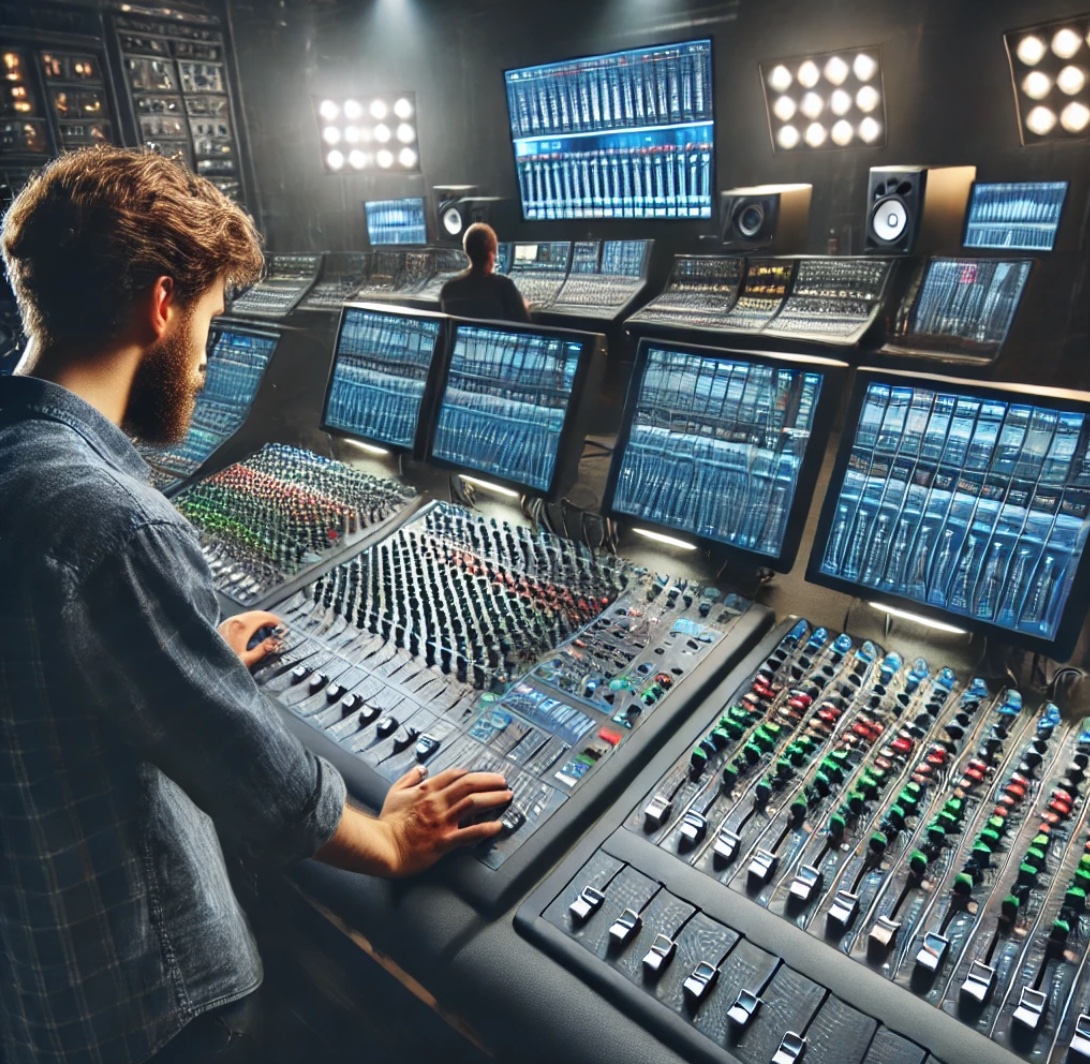
A mixing console is a crucial component for any audio setup, whether for live sound, studio recording, or broadcasting. Proper setup and configuration of your mixing console ensure optimal sound quality and performance. This article will guide you through the steps to set up and configure your mixing console effectively.
Introduction
Mixing consoles, also known as audio mixers or soundboards, play a vital role in combining and processing multiple audio signals. Whether you're a novice or an experienced audio engineer, understanding the setup and configuration process is essential to achieve the best sound quality. This guide will walk you through the fundamental steps, ensuring your mixing console is ready for any audio task.
1. Unpacking and Initial Setup
Unpack Carefully: Start by unpacking your mixing console and all included accessories carefully. Ensure you have all the necessary components, including power cables, audio cables, and any additional accessories specified in the manual.
Choose the Right Location: Place your mixing console in a location that is easily accessible and has adequate ventilation. Avoid placing it near sources of heat or moisture.
Power Up: Connect the power supply to your mixing console and plug it into a power source. Turn on the mixing console and check for any initial setup prompts or calibration requirements.

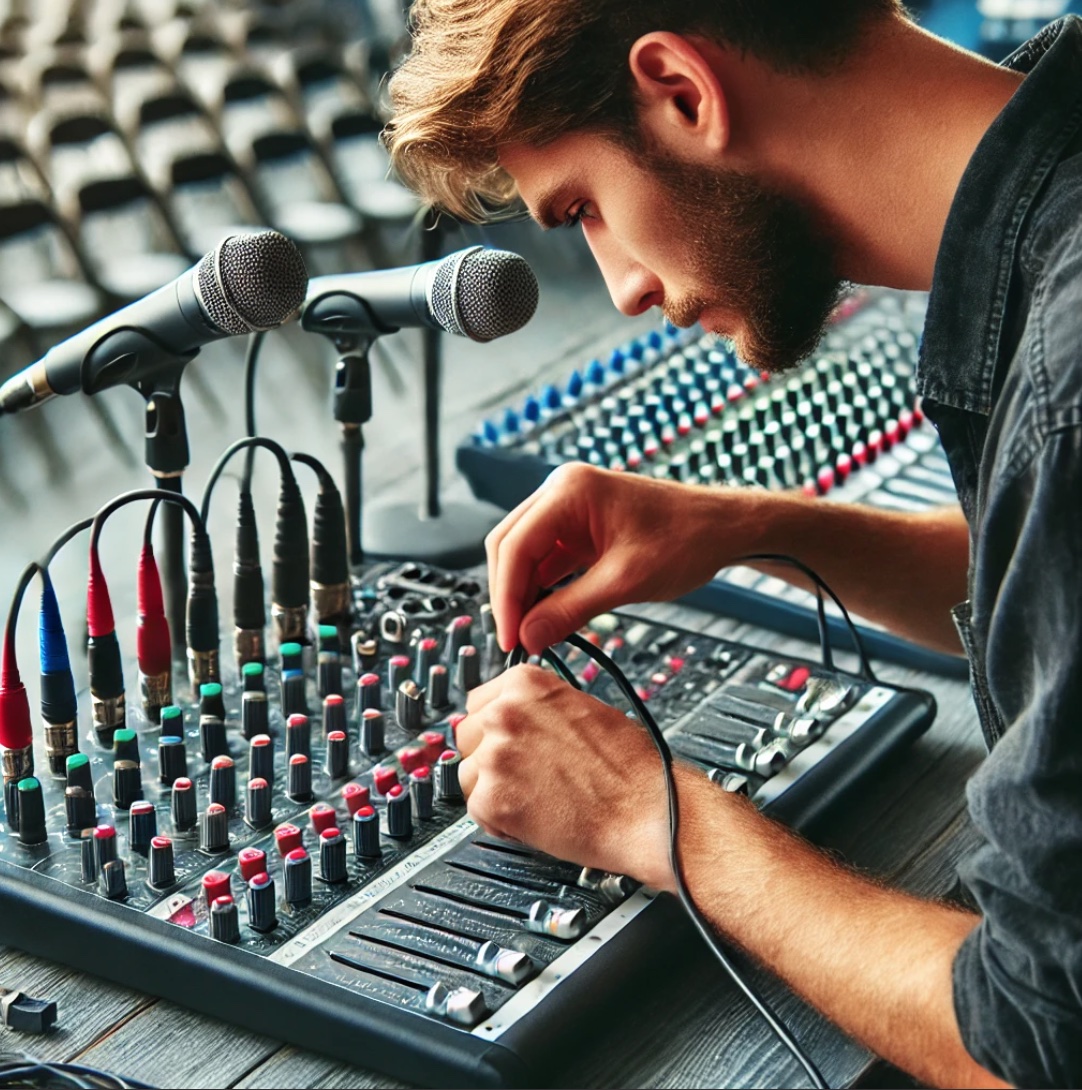
2. Connecting Inputs and Outputs
Microphone and Instrument Inputs: Connect your microphones and instruments to the appropriate input channels on the mixing console. Use XLR cables for microphones and 1/4" TRS cables for instruments.
Line Inputs: For devices like keyboards, audio players, or other line-level sources, use the line input channels. Ensure you select the correct input type on the channel strip.
Output Connections: Connect the main outputs of the mixing console to your speakers or amplifier. Use balanced XLR or TRS cables for the best audio quality and minimal noise interference.
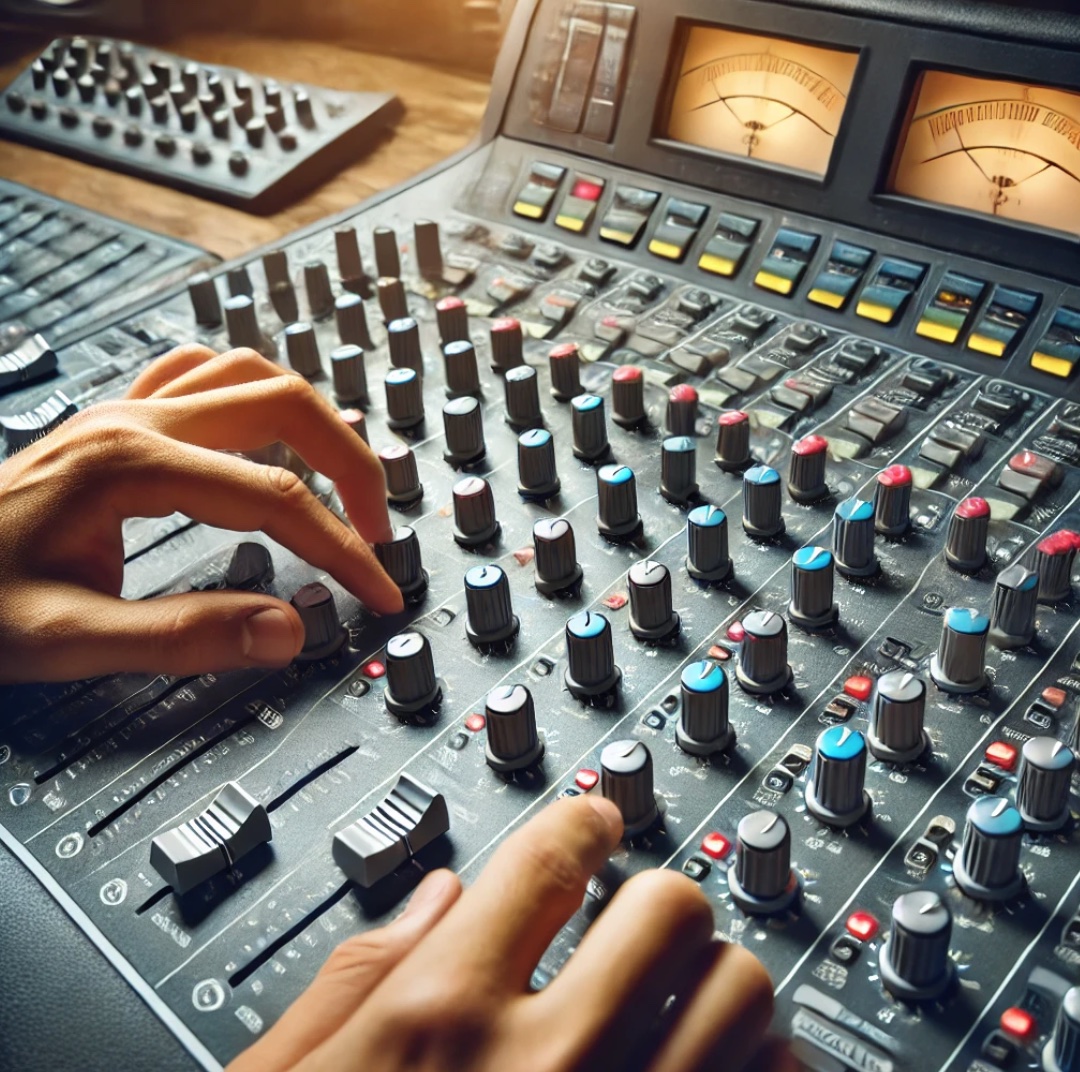
3. Channel Configuration
Gain Structure: Adjust the gain control for each input channel to ensure a strong signal without clipping. Start with the gain knob at a low setting and gradually increase it while checking the level meters.
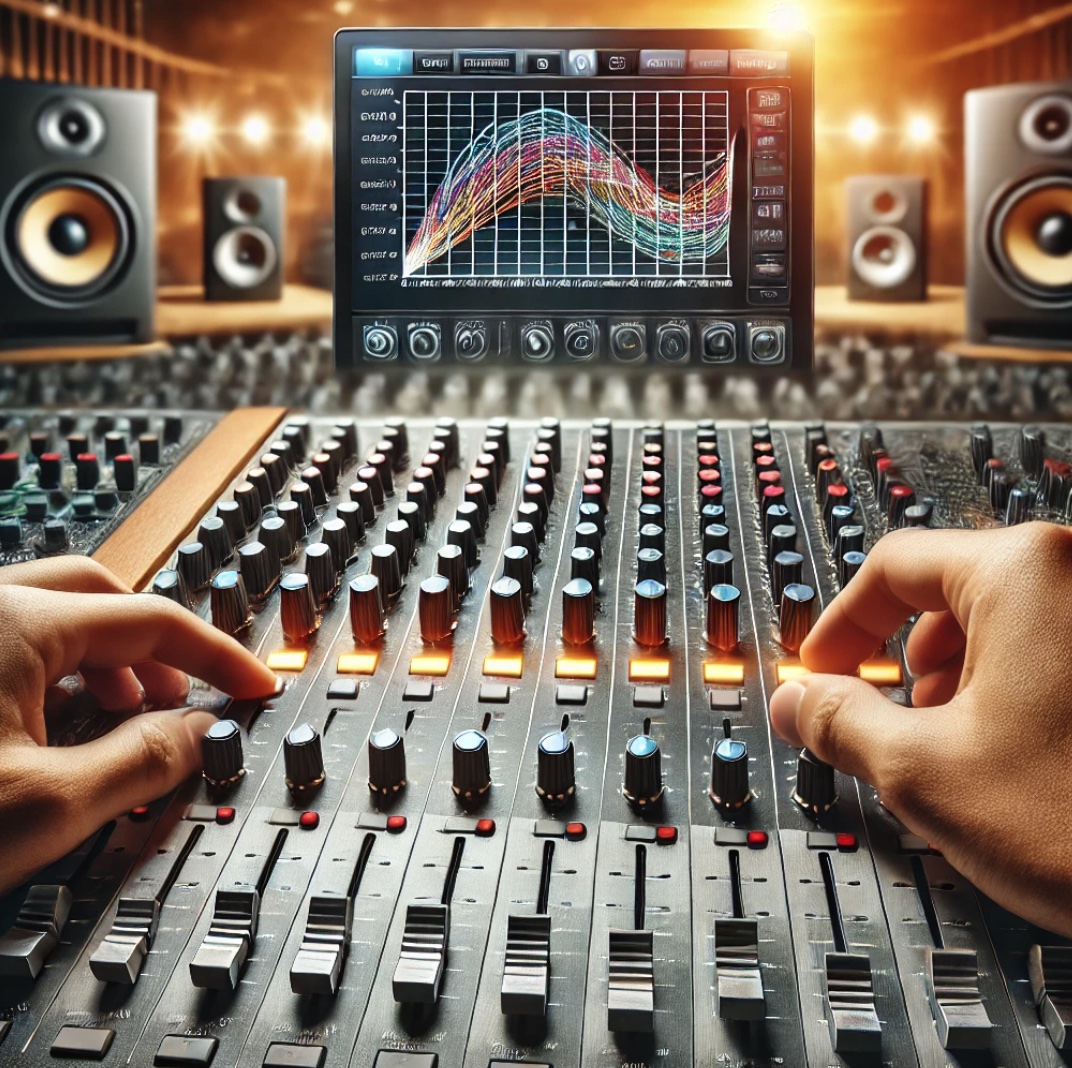
EQ Settings: Configure the equalizer (EQ) settings for each channel to shape the sound. Adjust the high, mid, and low-frequency bands to achieve the desired tone for each input source.
Auxiliary Sends: Set up auxiliary sends for monitoring or effects. Adjust the send levels to route the audio signals to external processors or monitor speakers.
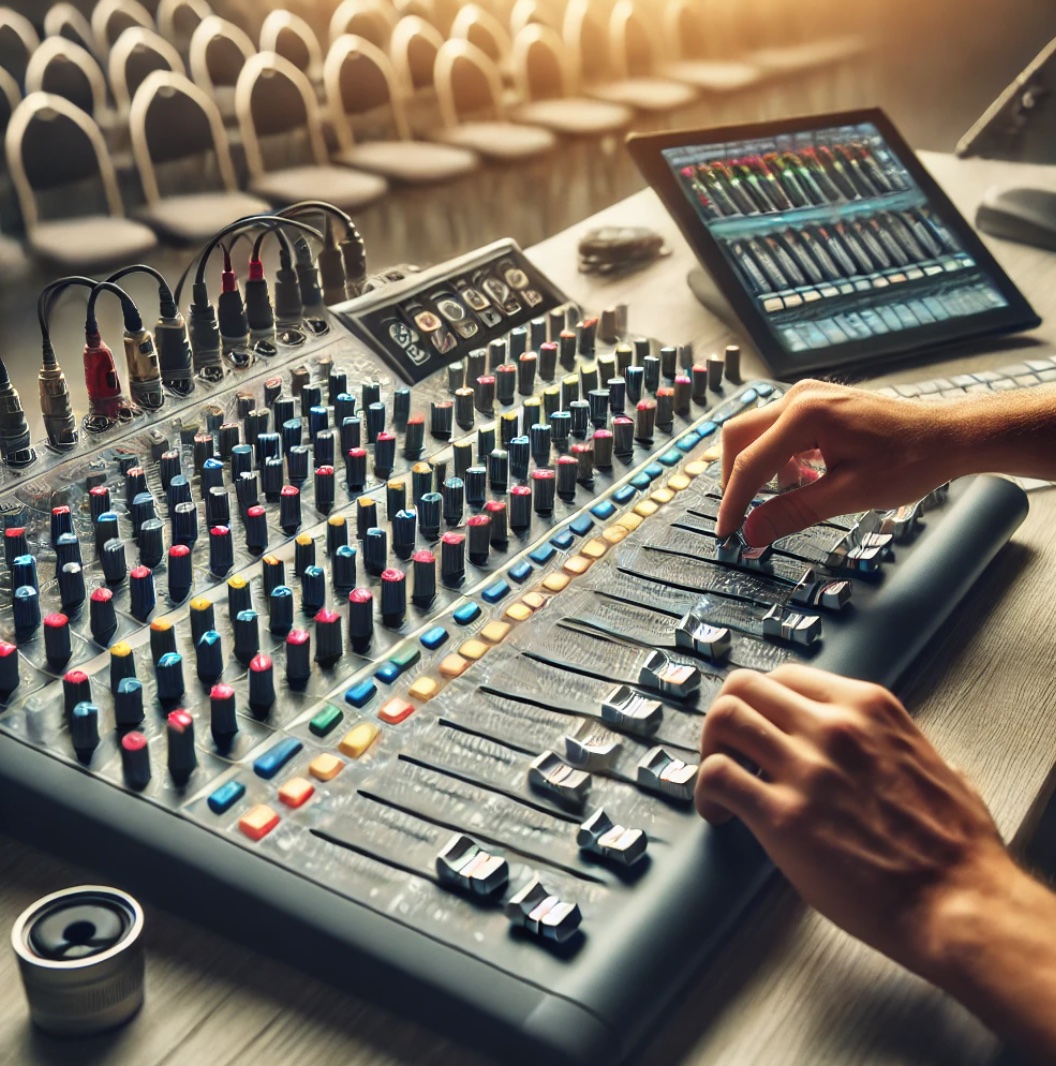
4. Setting Levels and Panning
Channel Faders: Set the faders for each channel to an appropriate level, ensuring a balanced mix. Avoid setting the faders too high to prevent distortion.
Master Fader: Adjust the master fader to control the overall output level of the mixing console. Ensure the output is not clipping and provides a clean signal to your speakers or recording device.
Panning: Use the pan controls to position each audio source within the stereo field. Panning can help create a more immersive and spatially accurate mix.
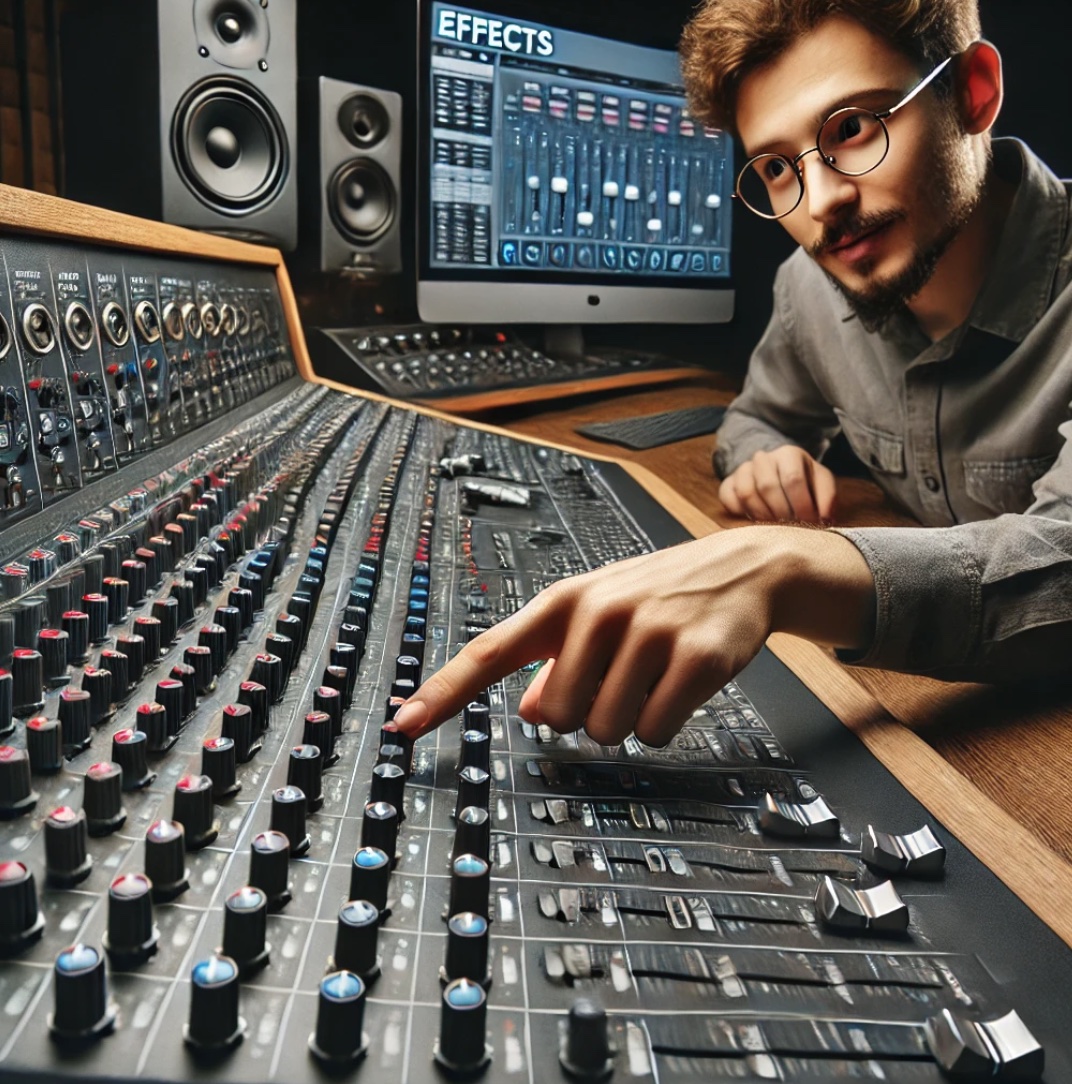
5. Adding Effects and Processing
Built-in Effects: Many mixing consoles come with built-in effects processors. Explore the available effects, such as reverb, delay, and compression, and apply them to individual channels or the overall mix as needed.
External Effects: If you use external effects units, connect them via the auxiliary sends and returns. Adjust the send and return levels to integrate the external effects into your mix seamlessly.
6. Monitoring and Feedback Control
Monitor Mixes: Set up monitor mixes for performers using the auxiliary sends. Ensure each performer can hear themselves and other necessary elements in their monitor mix.
Feedback Management: Use tools like graphic equalizers and feedback suppressors to control and eliminate feedback. Position microphones and speakers to minimize the risk of feedback loops.
7. Final Checks and Calibration
Sound Check: Conduct a thorough sound check to test all input channels, outputs, and effects. Make any necessary adjustments to levels, EQ settings, and effects.
Calibration: Calibrate your mixing console according to the manufacturer's recommendations. This may include adjusting the internal clock, signal routing, and other settings.

Conclusion
Setting up and configuring your mixing console correctly is essential for achieving high-quality sound in any audio environment. By following these steps, you can ensure your mixing console is optimized for performance, whether you're preparing for a live event, recording session, or broadcast. Remember to conduct regular maintenance and calibration to keep your equipment in top condition.